Building on my earlier post about sleep, I thought I’d share a short (approximately 20 minutes or longer depending on your customizations) restorative yoga routine that you can do prior to bedtime to prepare your body and mind for sleep. There are a few props I’d recommend having in your arsenal before practicing: a bolster (or a thick, supportive cushion or pillow large enough to support your body), a thick blanket or bath towel (or two!), one yoga block, but possibly two depending on your body’s needs (or books), a strap (or belt, t-shirt, towel) a wall, and a timer with a mild alarm (to put things in perspective, the opening notes to the Lion King’s Circle of Life are the exact opposite mild).
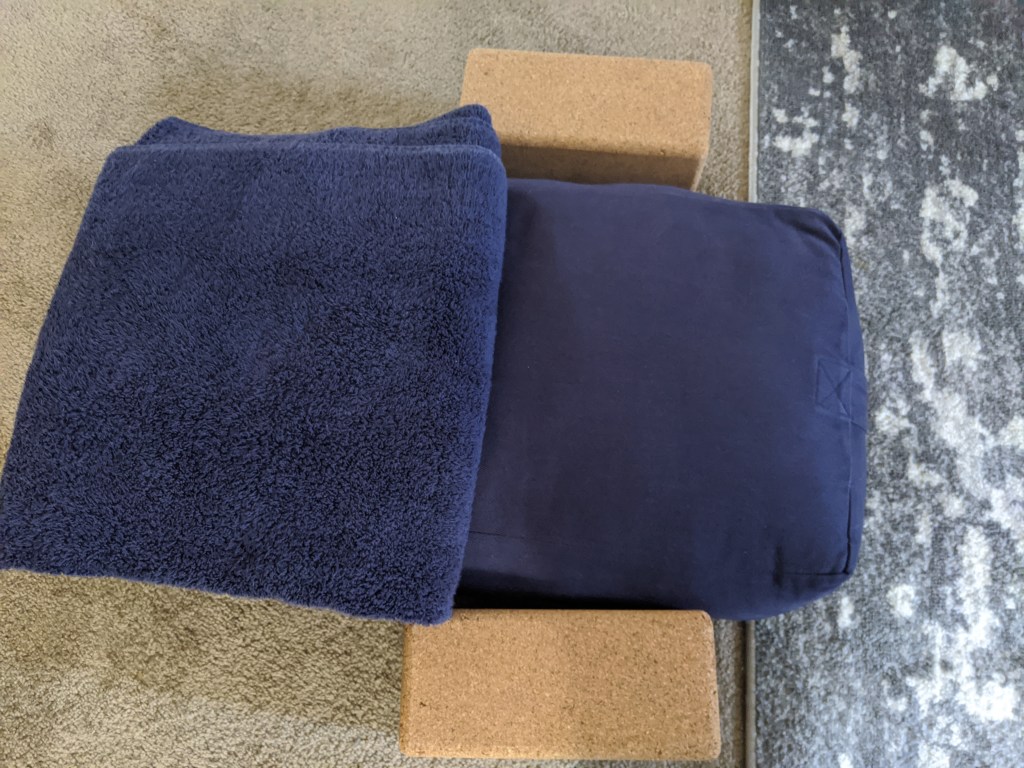
My bolster, blocks, and yoga strap were all purchased on Amazon and traditional yoga blankets are also sold on Amazon, but I use a bath towel from my bathroom when I practice restorative or yin yoga. It works just as well. Target, Walmart, and Dick’s Sporting Goods also carry basic yoga props.
You may want to consider performing this sequence in bed, especially if you have a large headboard or a clear wall behind your bed available. That way, once you’ve completed the routine, you’re already in the right place to sleep. Complete any activities that may cause a distraction or break the calm established from the practice prior to doing this sequence. For example, face wash, brushing your teeth, answering texts or emails, making the next day’s lunch, helping the kids to bed, etc. Make sure that the room you’re doing this in (if it’s not your bedroom) is free from distractions – the television, video games, the computer, loud noises, etc. Dim the lights. Maybe even play soft music or turn on a sound machine. Set yourself up for success. Doing this in the middle of your kitchen with the rest of your family (or roommates) running around and making noise is hardly going to help create a peaceful mindset.
Below is the sequence along with photos to help guide you into the poses. In all of these poses, I encourage you to slow your breathing down. If you’re uncertain as to how to go about doing that, try counting to 5 on the inhale and back down to 1 on the exhale. If you feel like 5 is too much, lower the count. Likewise, if you feel like you can go further, do so. Everyone’s body is different and every single body and individual has different needs. Explore what works best for you. For poses that require the use of a timer, have it nearby so that it doesn’t require a lot of fuss in order to reach it.
I chose to perform the sequence in my bed, but as stated earlier, you’re more than welcome to perform all of these poses on the floor.
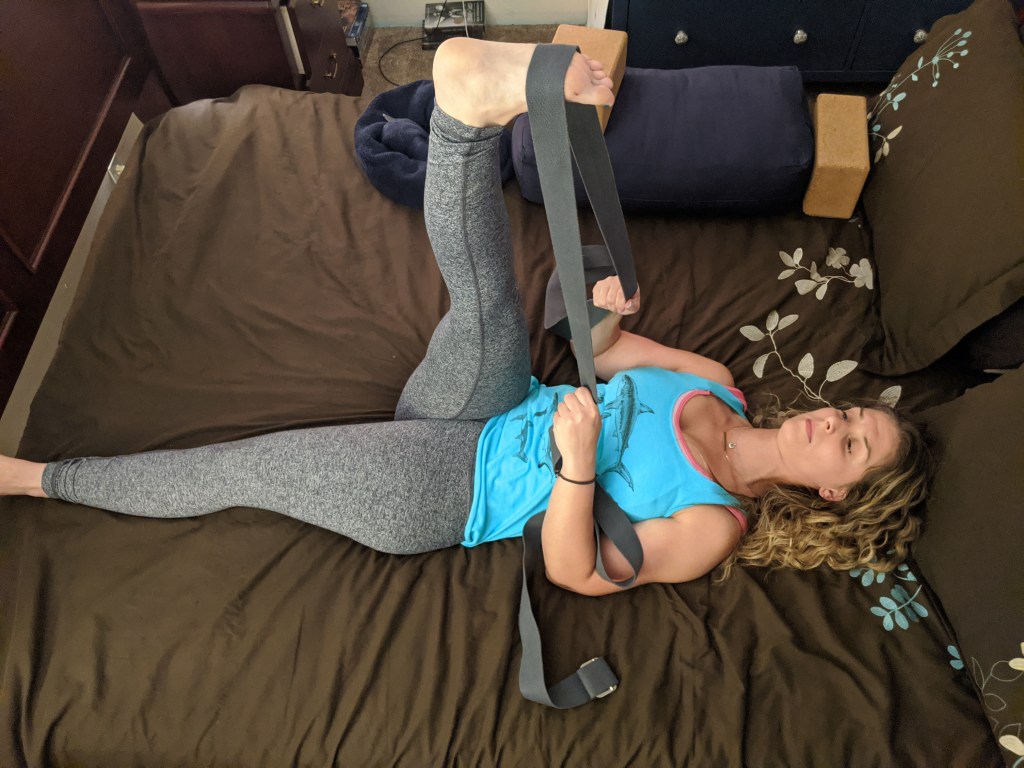
- Hamstrings (the muscles on the back of your upper leg) stretch with a yoga strap – Look at the photo. Notice how I’m not being super aggressive in this stretch. My shoulders are relaxed and I’m not holding tension in my shoulders or jaw. I walk my fingers up the strap to intensify the stretch, but do not walk my hands all the way up to my ankle. The purpose of this is to calm and relax, not create additional tension in the body. Activate the quadriceps (your thigh muscles) to straighten the leg and help support the hamstrings. Press through the heel of the foot. Hold for 5-10 breaths. Repeat on the other side.
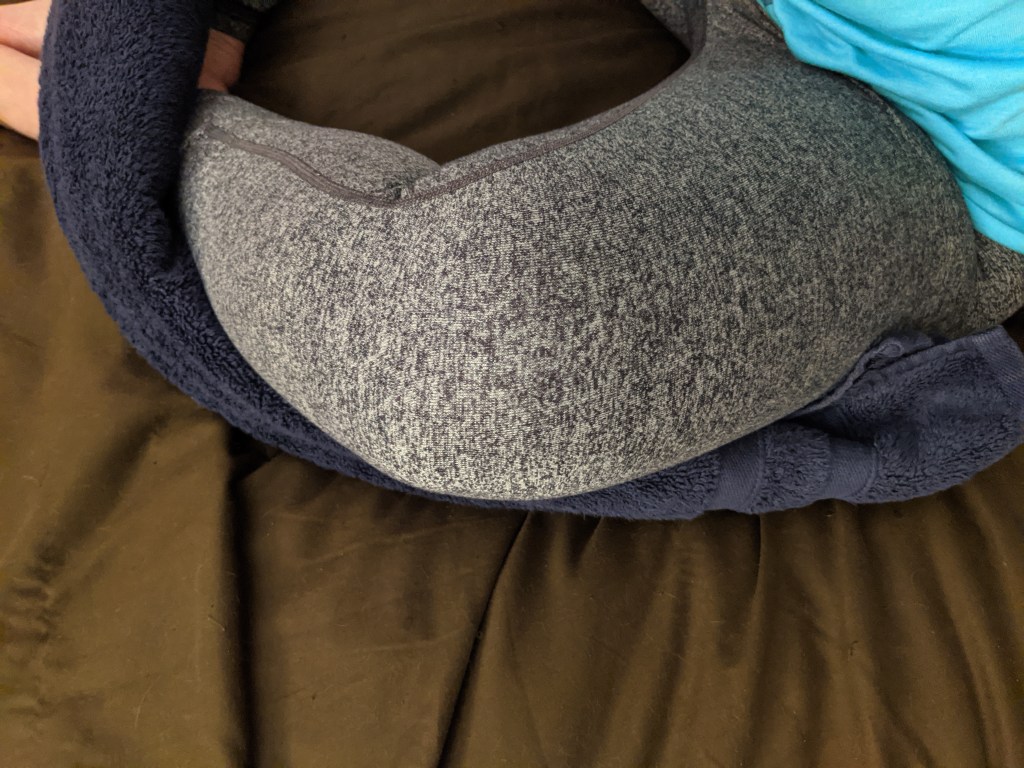
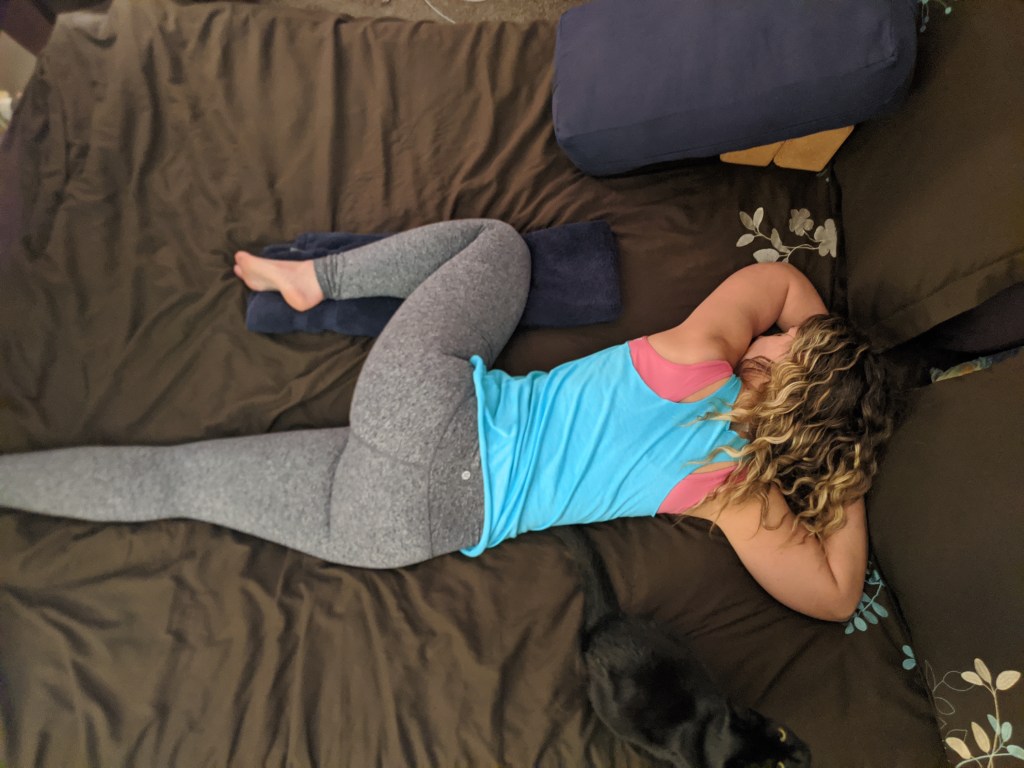
2. Pigeon at the wall – To modify, move your butt further away from the wall and/or move the foot against the wall higher up. Externally rotate (the leg moves toward the wall) the femur (thigh bone) of the top leg from the hip joint (not the knee or ankle) and flex the foot. Briefly place your hands on your hip points to make sure that your hip bone is level. Relax the shoulders and broaden across the collarbone. Hold for 10 breaths. Switch sides.
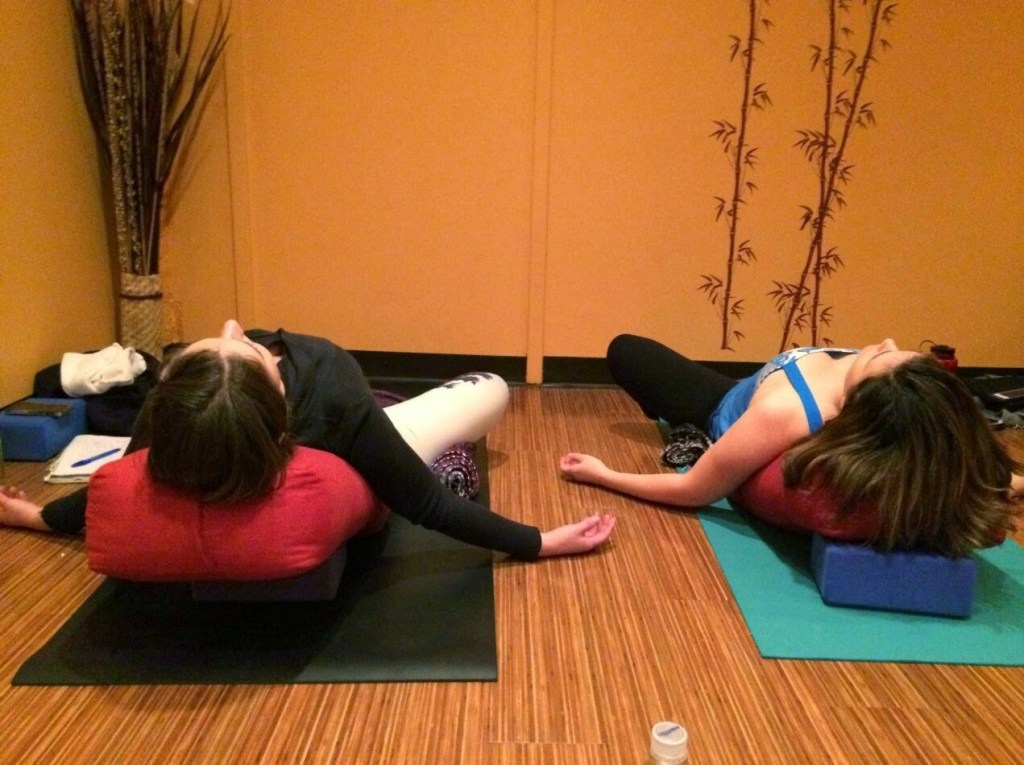
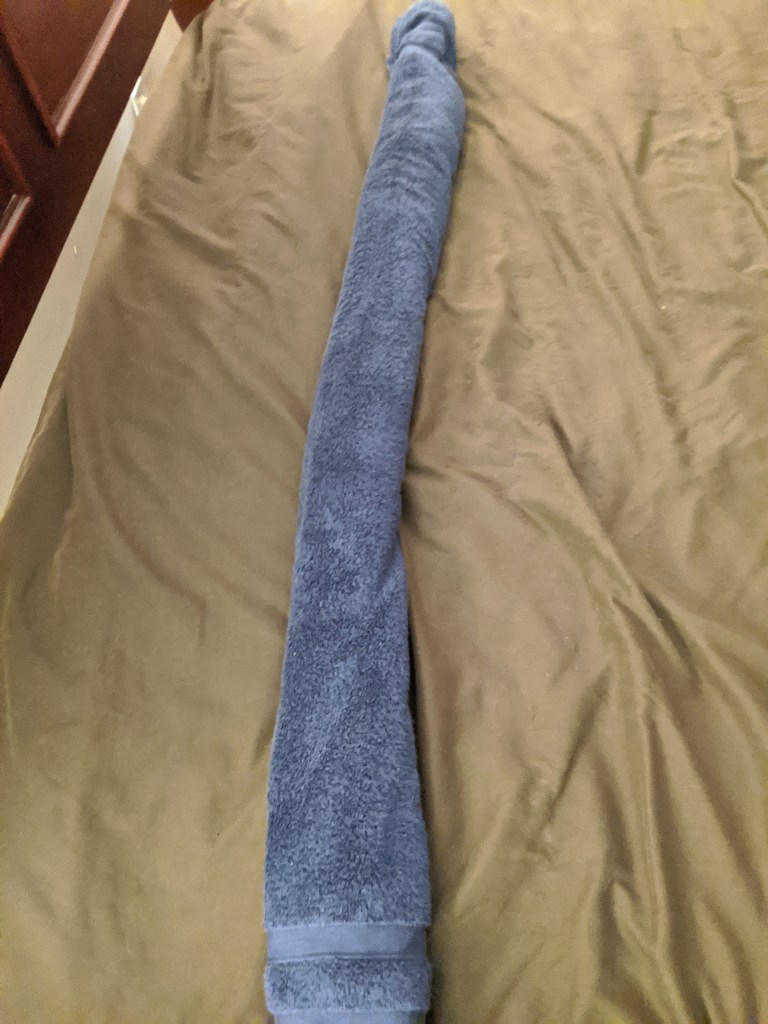
3. Reclined supported bound angle pose – First, roll your blanket into a long burrito shape. The thicker the burrito, the more support it will provide. Set up your bolster like a recliner, by placing a block or two underneath it. Scoot your butt up to the edge of the bolster.
Press the bottoms of your feet together and allow the knees to open. Place the burrito on top of your feet and then tuck the ends of it beneath your knees.

Lay back on the bolster. Option to place a folded blanket or pillow beneath your head for extra support. Hold for 2 minutes.
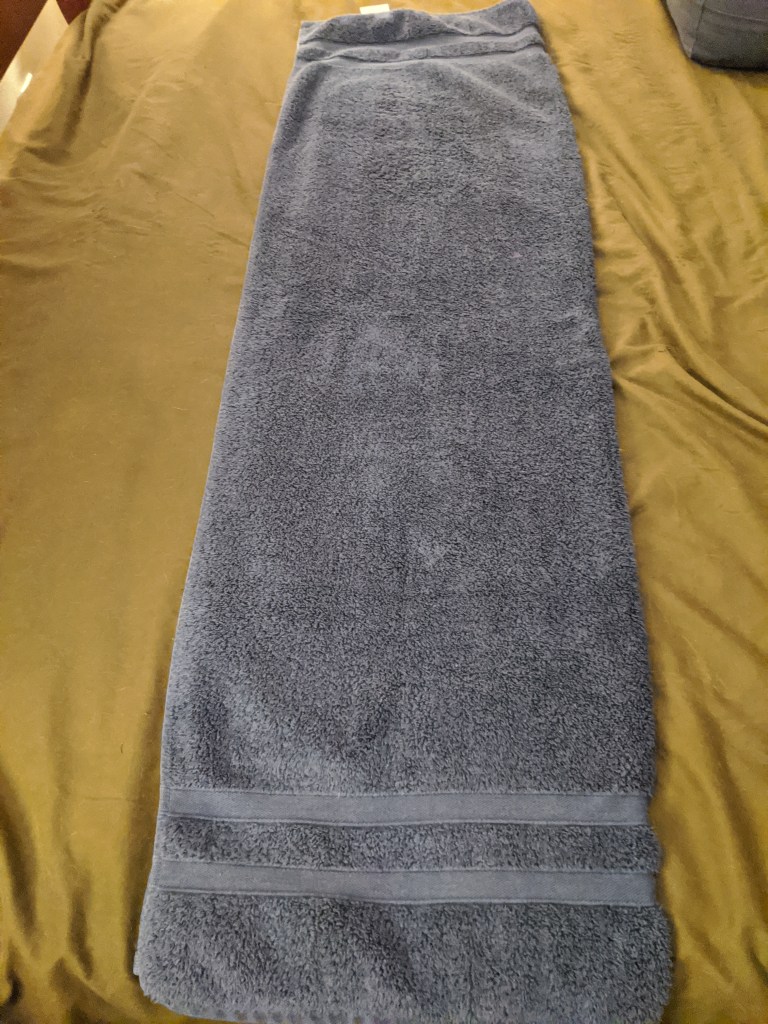
4. Half-Frog Pose – Fold your blanket or towel until it is a thick, long rectangle shape.


Lay the blanket parallel to you at your right side. Lie on your belly. Draw the right knee up alongside you so that the blanket supports your knee, shin, and ankle. Rest your forehead or the side of your head on your forearms. Whichever is more comfortable for your neck and shoulders. You can opt to place a folded blanket or a small pillow beneath your head and chest if that’s more comfortable for you. The further you move the knee and shin away from your body, the deeper the stretch in the adductors and groin. Hold for 1 minute. Repeat on the other side.
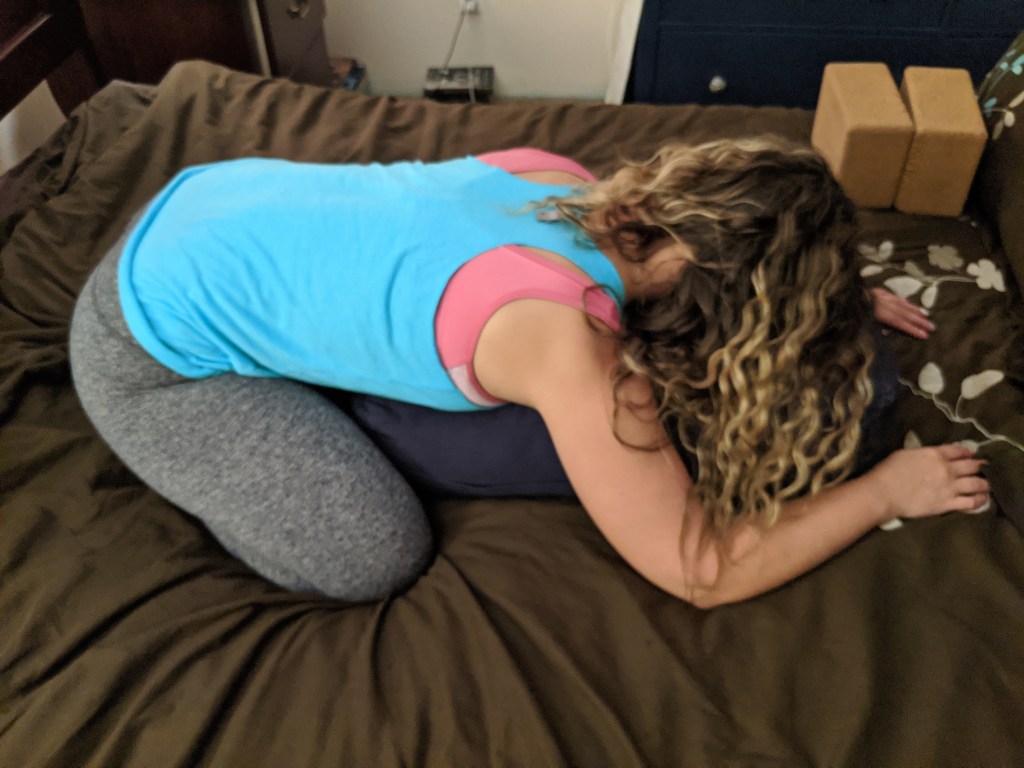
5. Supported child’s pose – Open your knees and line up the bolster to the inside of your knees. Walk your hands forward so that your torso can lengthen on top of the bolster. If this is too intense, elevate the bolster by placing a block beneath it. If keeping your feet in this position is too much of a stretch on the anterior tibialis and for the tops of your feet, roll up your blanket into a small-sized burrito and slide it beneath your feet to decrease the stretch’s range of motion. Turn your head to whichever side best suits your neck and shoulders. Hold for 5 minutes.
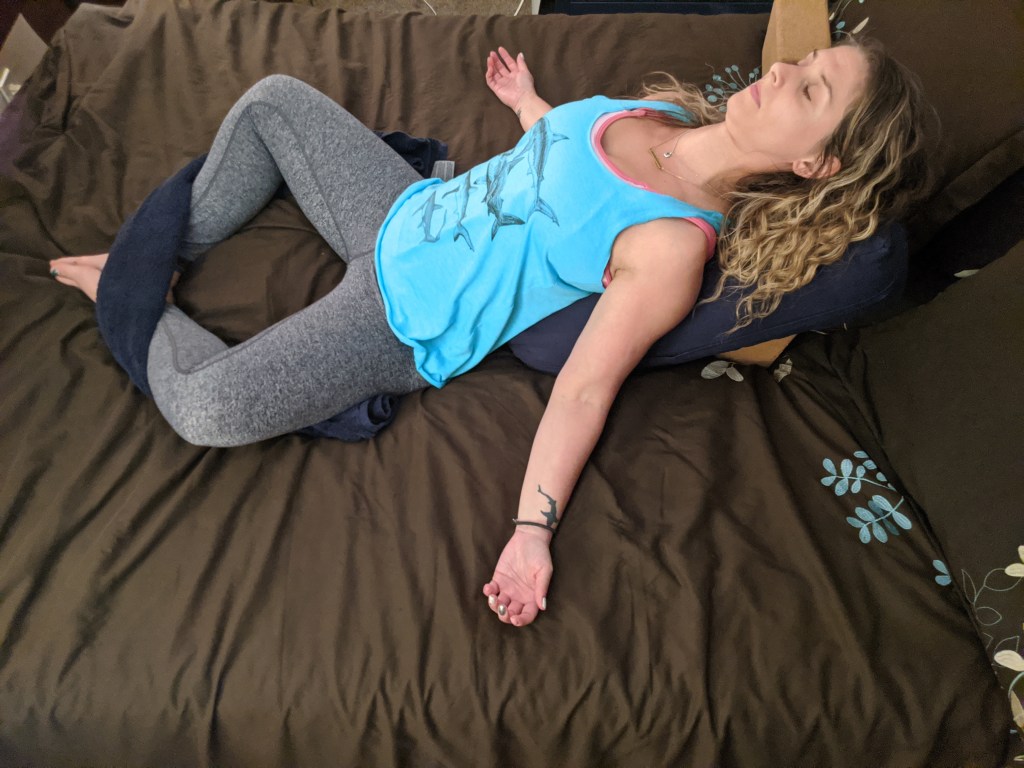
6. Supported twist – Set up your body in a quadruped position (hands and knees) facing the bolster and with your hands on either side of it. Walk your knees all the way to the right of the bolster and lower your hips to the left. Adjust the bolster so that it’s touching your hip/thigh. Rotate your torso so that your belly button lines up to the bolster and walk your hands forward, lengthening your torso over the bolster. I prefer to turn my head to face my knees, but others like the extra stretch that comes from turning their head over the opposite shoulder. Try both and see which works best for you and your body. Hold for 2 minutes. Switch sides.

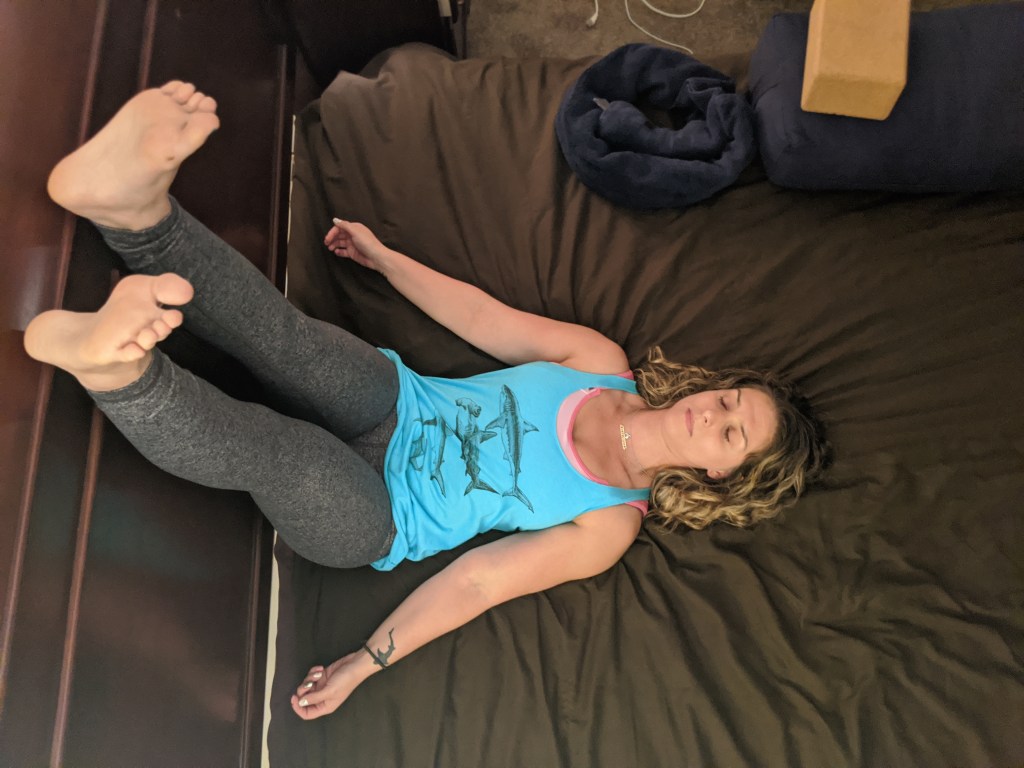
7. Legs up the wall (and variations) – Before setting yourself up for this pose (especially if you’re in bed), clear your space of props. Then scoot your butt as close to the wall as your body will allow and swing your legs up the wall. If the stretch on the backside of your body is too intense, slide your butt away from the wall. Relax your shoulders and broaden across the collarbone. Hold for 3-5 minutes (or longer if it suits you).
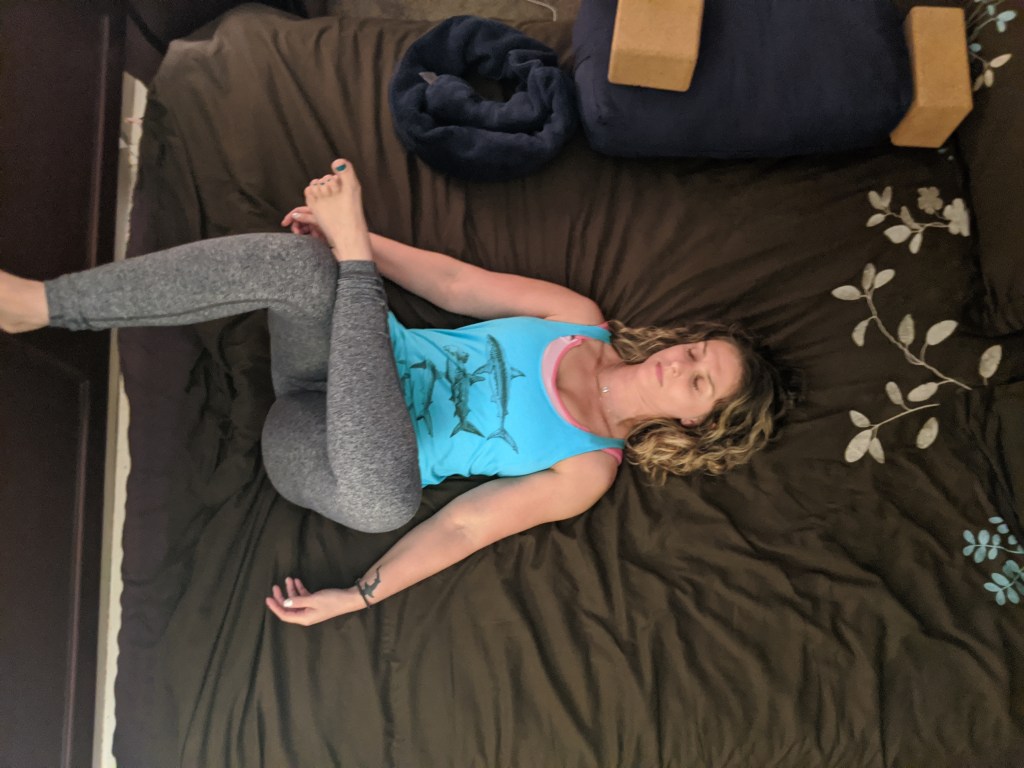
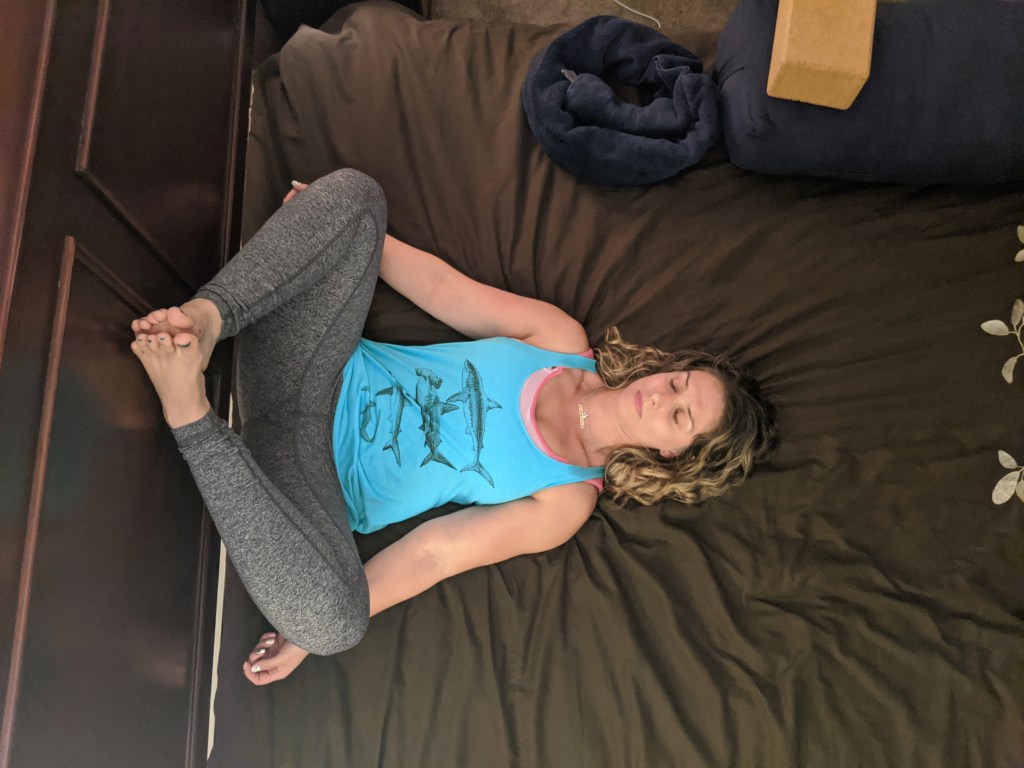
If you want more sensation in your hips, you can opt to take a bound angle pose variation:
or even a straddle variation:

When you’re ready to do so, bend your knees and place your feet flat against the wall. Scoot your butt away from the wall so that you can bring your knees into your chest and roll to the side in a fetal position. Stay here as long as you like. When it feels right, allow your body to come into its final resting pose – savasana. For those of you who performed this sequence in bed, you’re already in the prime location and position for bedtime. Namaste.
